MuleSoft Technical Guides

Anypoint SSO with SAML 2.0


Anypoint Platform is a cloud-based integration platform that enables organizations to connect applications, data, and devices. With its built-in security features, Anypoint Platform offers Single Sign-On (SSO) to help organizations streamline user authentication and access control.
In this blog, we will discuss Anypoint SSO and how to implement it.
What is Anypoint SSO?
Anypoint Single Sign-On (SSO) is a feature offered by Mulesoft’s Anypoint Platform that allows users to authenticate and access multiple applications with a single set of credentials.
SSO is a powerful tool for improving security, streamlining the user experience, and reducing administrative overhead. With SSO, users only need to remember one set of login information, which can be used to access multiple applications without having to re-enter their credentials each time.
One of the key benefits of Anypoint SSO is its ability to integrate with a wide range of identity providers, including popular ones such as Okta, Ping, and ADFS. This allows organizations to leverage their existing identity infrastructure and avoid the need to build and maintain a separate authentication system.
Another benefit of Anypoint SSO is its support for two-factor authentication (2FA). This provides an additional layer of security by requiring users to provide a second form of authentication, such as a fingerprint or a one-time code sent to their mobile phone, in addition to their password.
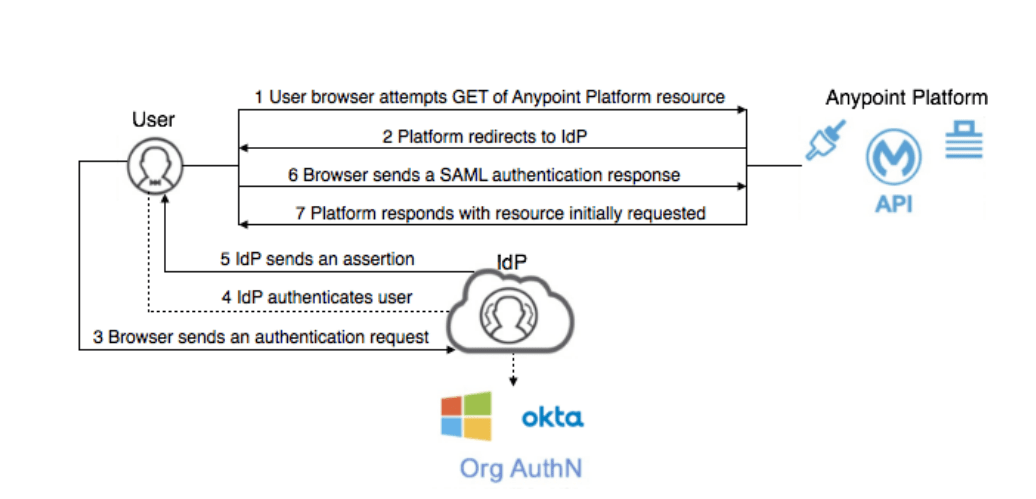
In addition, Anypoint SSO also supports SAML-based SSO, which allows an user to authenticate to an application through an identity provider such as Okta, OneLogin, and ADFS. SAML is an industry standard for SSO and is supported by many popular SaaS applications.
Overall, Anypoint SSO is a valuable tool for organizations looking to improve security and user experience while reducing administrative overhead. Its ability to integrate with a wide range of identity providers and support for 2FA and SAML make it a versatile and effective solution for managing authentication across multiple applications.
How to Implement Anypoint SSO?
Implementing Anypoint Single Sign-On (SSO) is a straightforward process that can be broken down into a few key steps:
- Set up an identity provider: The first step in implementing Anypoint SSO is to set up an identity provider (IdP). This can be an existing IdP that your organization is already using, or you can set up a new one using a service such as Okta, Ping, or ADFS.
- Configure the identity provider: Once you have set up an IdP, you will need to configure it to work with Anypoint SSO. This typically involves creating a new application within the IdP and configuring it with the necessary details, such as the Single Sign-On URL and the Assertion Consumer Service URL.
- Configure Anypoint SSO: Next, you will need to configure Anypoint SSO to work with your IdP. This involves setting up a new SSO configuration within Anypoint Platform and providing the necessary details, such as the IdP’s metadata URL and the application’s client ID and secret.
- Enable SSO for your applications: After configuring Anypoint SSO, you can enable SSO for your applications by editing the security settings for each application. This typically involves configuring the application to use the SSO configuration you created earlier and specifying which users or groups should be able to access the application.
- Test and deploy: After completing the above steps, you should test your SSO configuration to ensure it is working correctly. Once you are satisfied that everything is working as expected, you can deploy the SSO configuration to your production environment.
Overall, implementing Anypoint SSO is a relatively simple process that can be completed in a few hours or days depending on the complexity of your organization’s infrastructure and the number of applications you are looking to enable SSO for.
We’ll discuss each step in detail below.
Step 1: Set up an Identity Provider
To use Anypoint SSO, you need to have an Identity Provider (IdP). An IdP is a trusted system that stores and manages user identities. Anypoint Platform supports several IdPs, including Okta, Ping Identity, Microsoft Azure AD, and others.
In these Steps we will work by using Okta as IdP and use SAML 2.0.
Step 2: Set up an Okta Account
Go to the Okta website and create an account.
Once you have an account, you can set up your Okta organization and add users.
Step 3: Configure Anypoint Platform for SSO
- Log in to your Anypoint Platform account.
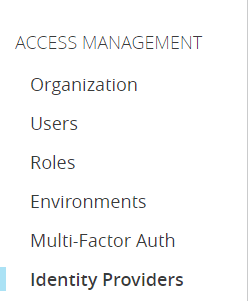
- Go to the “Access Management” menu and select “Identity Providers.”
3. Click on the “Add Identity Provider” button.
4. Select “SAML 2.0”.
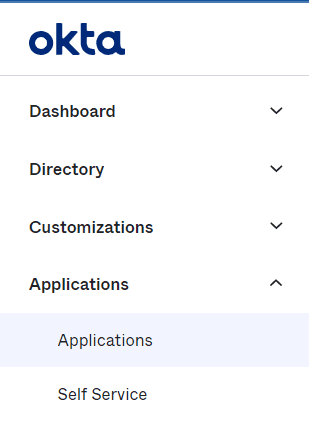
5. Go to your Okta Developer Account and select Application from Side Menu.
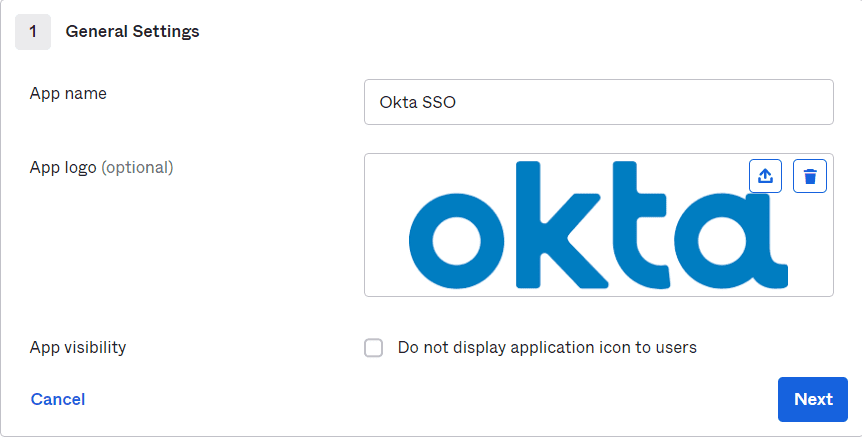
6. Click on “Create App Integration” and Select “SAML 2.0”
7. Give the Application Name and Select a Logo if required and click Next.
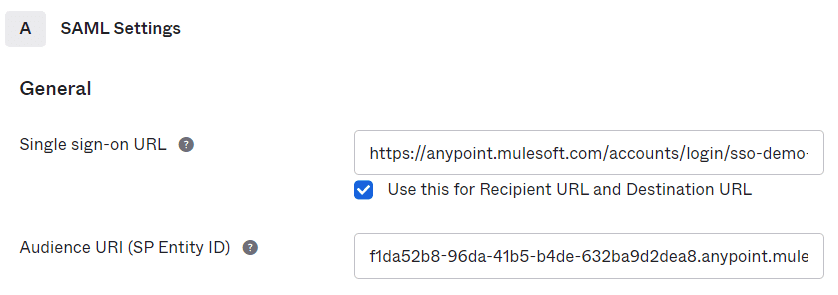
8. Enter the Single Sign On URL in the following format:
“https://anypoint.mulesoft.com/accounts/login/<org-domain>/providers/<providerId>/reciever-id”
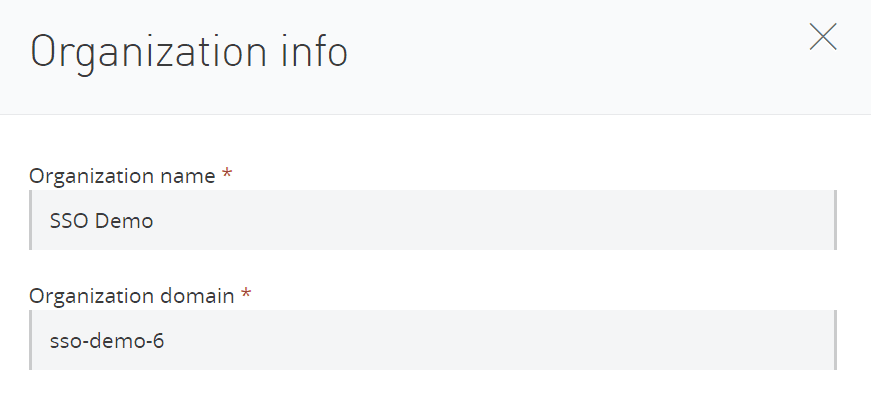
9. The “Org-domain” can be found in the Organisation Info Tab in Access Management while “providerId” will only be available when we finish setting up IDP in Anypoint so leave it as it is for now.
10. Enter the Audience URI as <organisationId>.anypoint.mulesoft.com
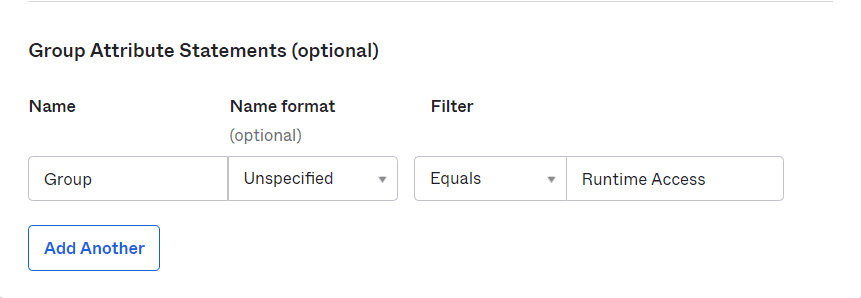
11. Enter the “Attribute Statements”. It will define the parameters on which Authentication will be done.
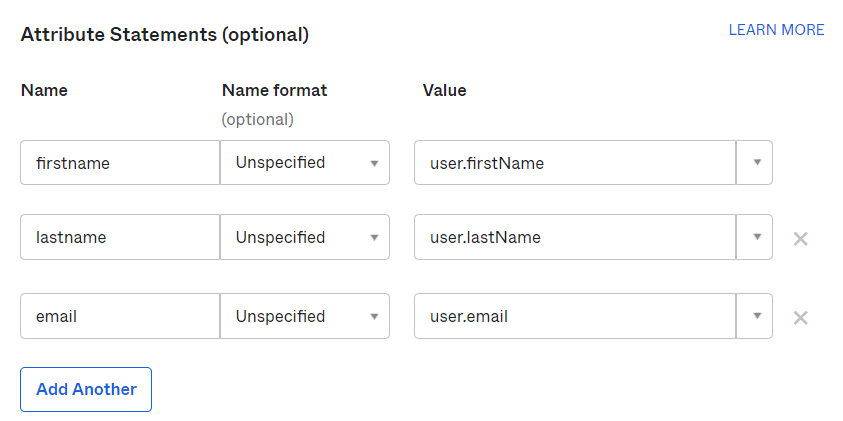
You can add Group Attribute Statement Parameters too If you have multiple groups
12. Click on “Next” and Select “I am a Software Vendor” Option.
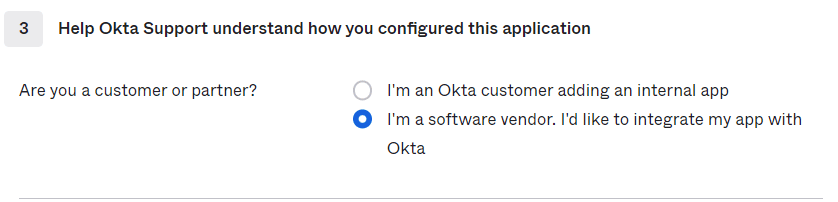
13. Select Finish.
14. Go to Sign On Tab, Scroll Down and Select “View SAML setup Instructions”.
15. Go Back to Anypoint Platform and Enter the Name for IdP.
16. Enter Sign On URL from Setup Instructions.
17. Enter Sign Off URL and Public Key.
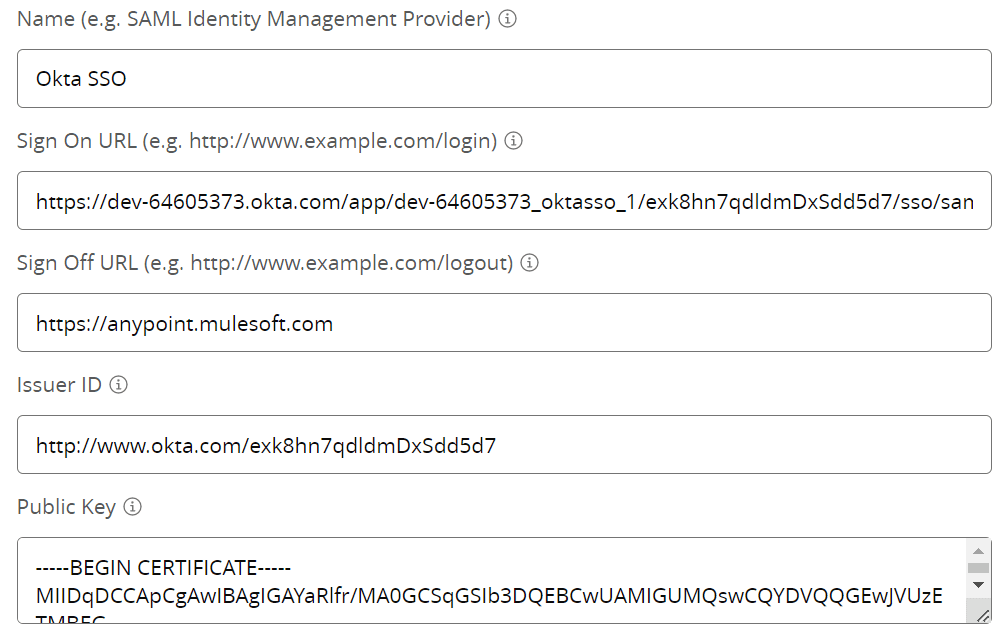
18. Enter the Audience as <organisationId>.anypoint.mulesoft.com.
19. Click on Save Changes.
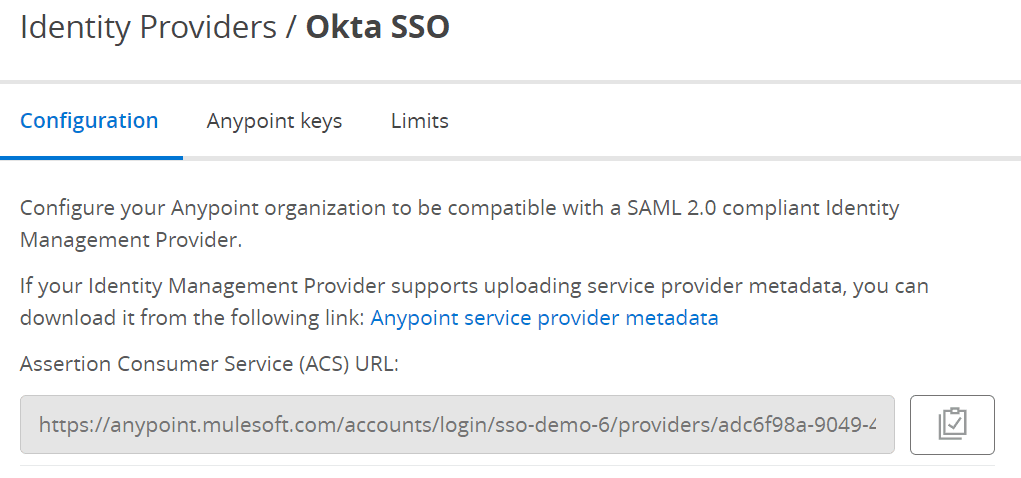
20. Now your IdP is created , again click on the IdP you created and copy the Assertion Consumer Service (ACS) URL.
21. Go back to your Okta Application and replace the Single-sign-on URL there.
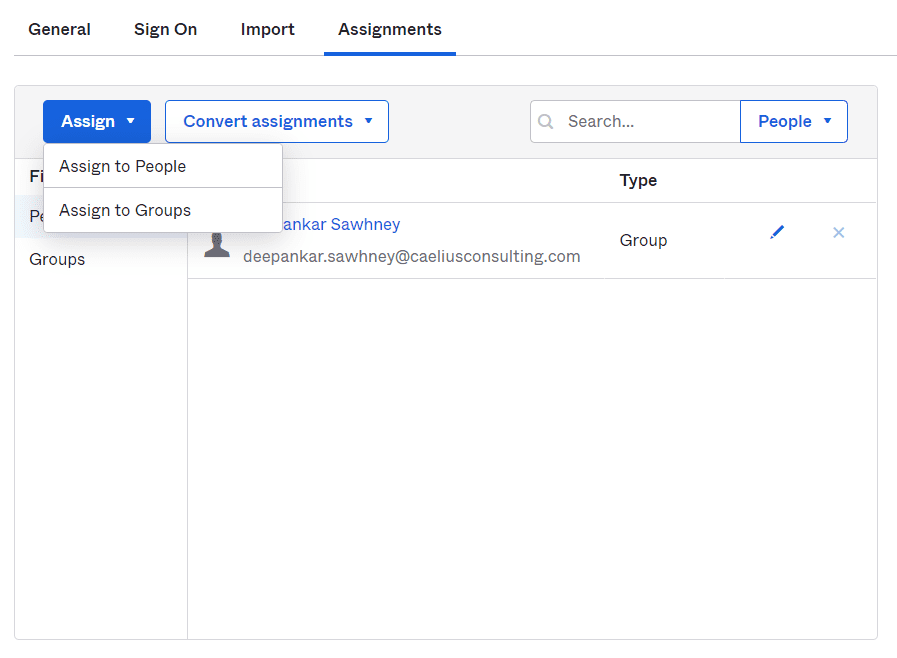
22. Go To Assignments Tab and Select the Group/People to which you want to Provide Access.
Step 3: Test Your SSO Configuration
After you’ve configured Anypoint Platform for SSO, you should test your configuration to make sure it’s working correctly.
a. To test your Okta SSO configuration, you can:
- Log out of Anypoint Platform.
- Open the Single Sign On URL.
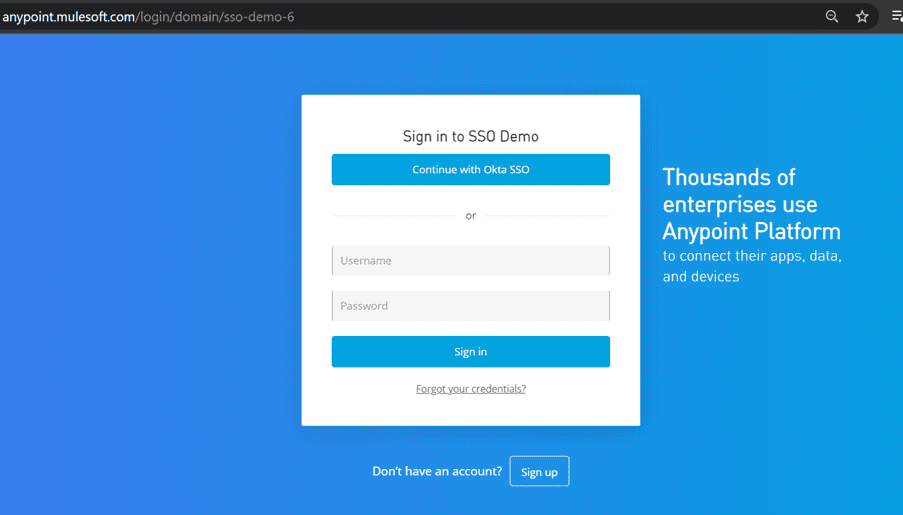
3. Click on Continue with <Application Name>
4. Login with your Okta Credentials.
5. You should be redirected to Anypoint Platform and logged in automatically.
If everything works correctly, you should be able to log in to Anypoint Platform using your Okta credentials.
Step 4: Manage Your SSO Configuration
Once you’ve set up and tested your SSO configuration, you’ll need to manage it to ensure it continues to work correctly.
You can create groups in Okta that can provide a certain amount of Access.
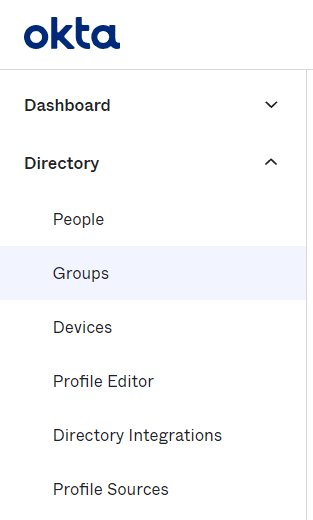
- On your Okta Dashboard Click on Directory and Select Groups.
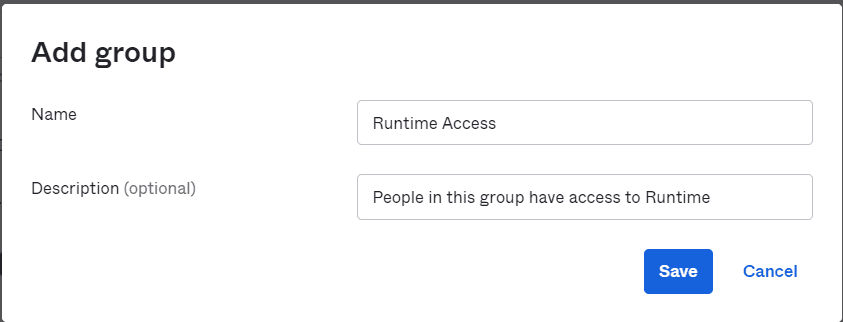
2. Click on Add Group and provide Name and Description.
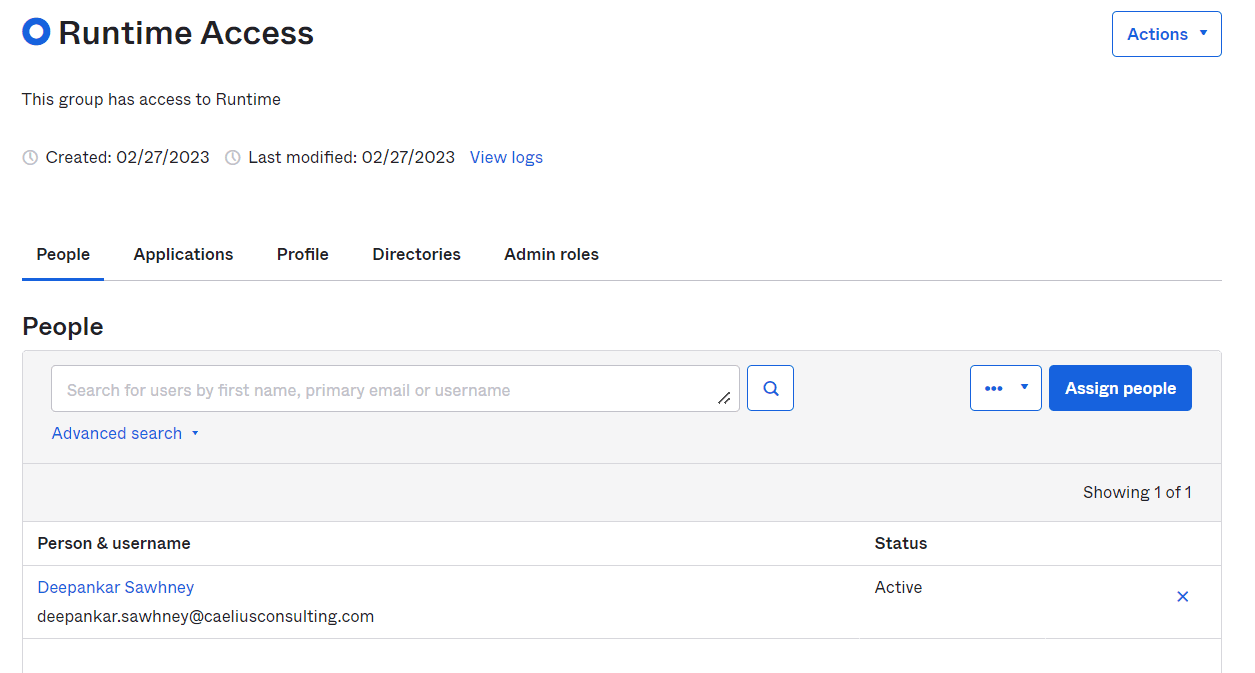
3. Assign People to the Group.
4. Log In to your parent Account in Anypoint Platform.
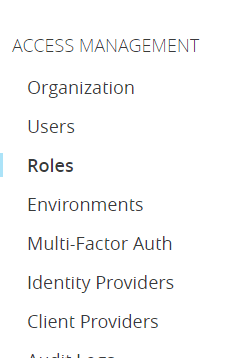
5. Go to Access Management and Select the “Roles”
6. Select your Desired role and select “Set External Group Mapping”

7. Click on “Add” and “Save”.
8. Go to Identity Providers, Select your APP and in Advanced Settings Update the Group Attribute
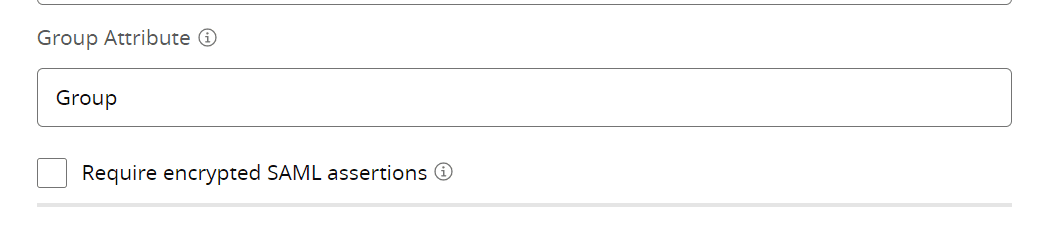
9. Go to your Okta App and Update the Group Attribute for the App.
10. The User in the group will now have the access depending on the roles assigned.
b. Updating your SSO configuration if you change your Okta settings or attributes.
c. Monitoring your SSO configuration for errors or issues.
That’s it! By following these steps, you can successfully implement Anypoint SSO using Okta as the Identity Provider.
Conclusion
Anypoint SSO is a powerful feature that enables organizations to streamline user authentication and access control. By using Anypoint SSO, organizations can provide a seamless user experience and increase security by reducing the risk of user password fatigue.
Recent Blogs

Message Queue Driven Architecture in MuleSoft using Amazon SQS.
Whenever we are building complex systems using microservice architecture, we oft...…
Learn how MuleSoft & Salesforce helps businesses create incredible digital experiences. Speak with one of our consultants today
Let's Work Together